
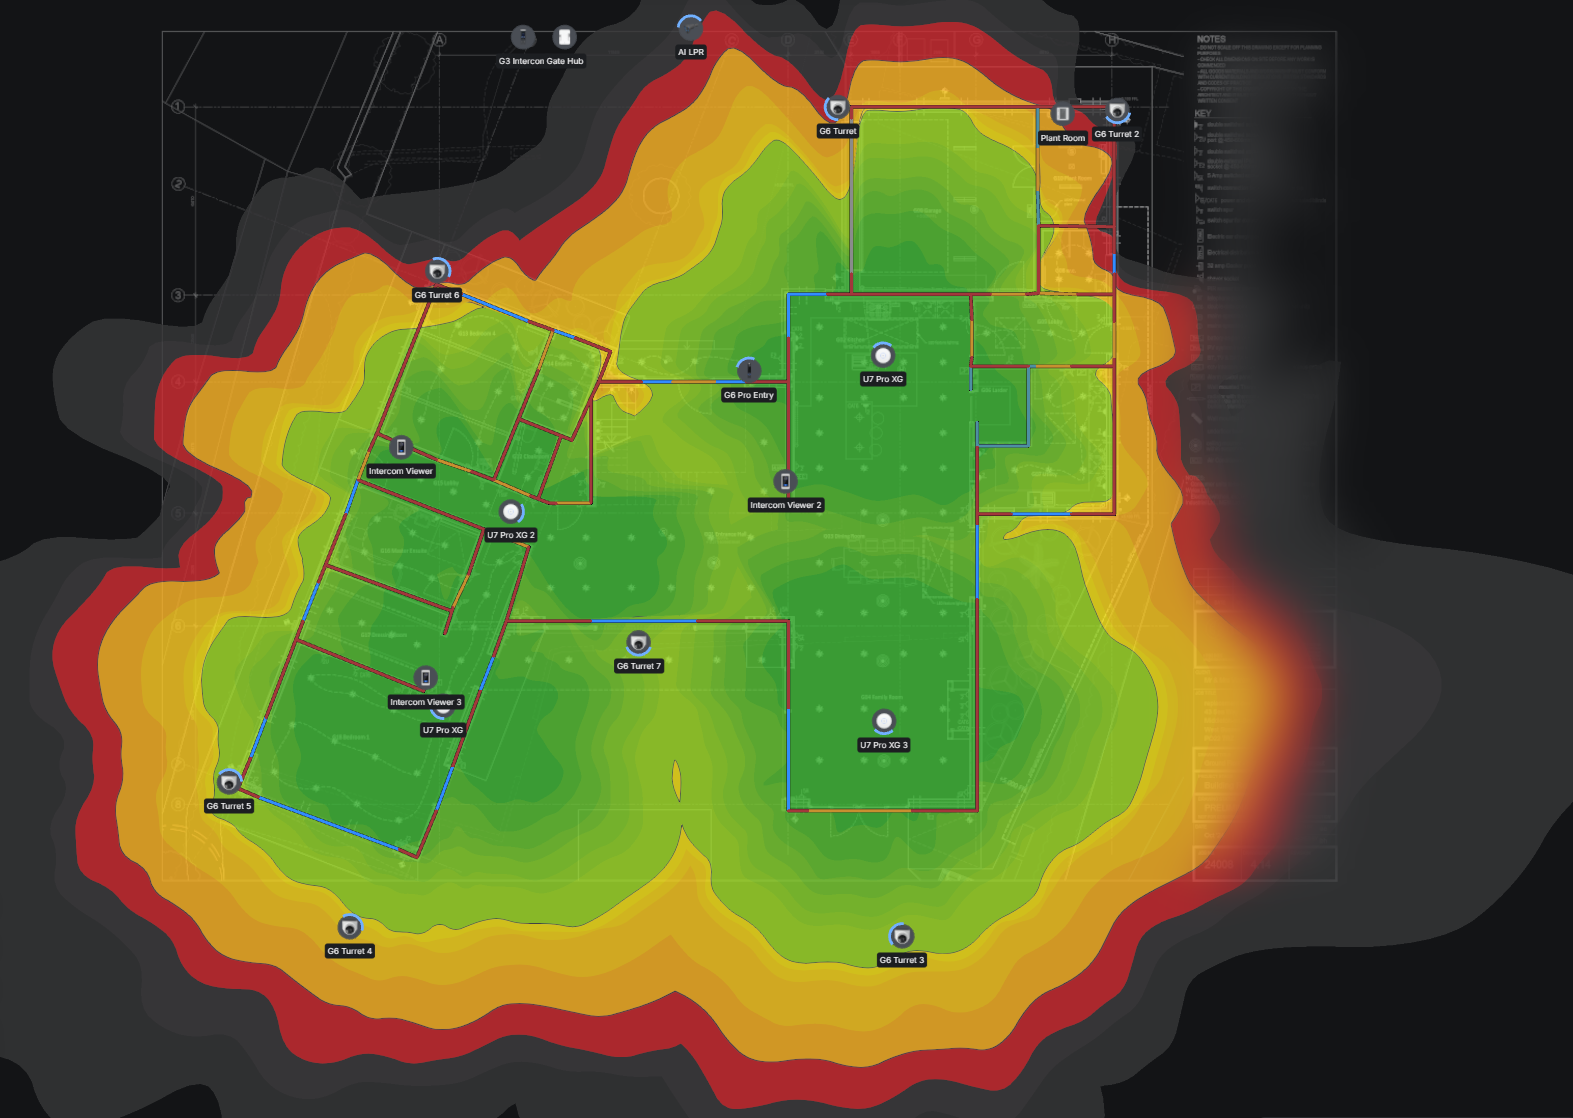
Every network we install is planned on screen before anyone picks up a drill. We map out where the Wi-Fi will reach, which gateway and switches the site needs, and how it all fits in the cabinet, so you know exactly what you’re getting and why.
We do this in UniFi Design Center, Ubiquiti’s planning tool. It lets us drop real UniFi kit onto your building’s floor plans, model the walls and floors, and see predicted Wi-Fi coverage before a single cable goes in. Below, we walk through how we used it on a recent new-build project, with the address and client details removed.
Step 1: Start with the building
Good Wi-Fi depends far more on the building than on the box on the ceiling. So we start with your floor plans, ideally the architect’s drawings, and scale them so distances are accurate.
We then trace the walls and tell the software what they’re made of. A stud partition, a block wall and a glazed screen all affect Wi-Fi very differently, and getting this right is what makes the coverage prediction worth trusting. Multi-storey buildings get a plan per floor, so we can see how signal carries between them.
Step 2: Place the access points and check the coverage
Next we place the Wi-Fi access points and let the software predict the signal. Green is strong, yellow is usable, and red marks the edge of coverage. We move access points around until the green covers every room people actually use, rather than just adding more units.
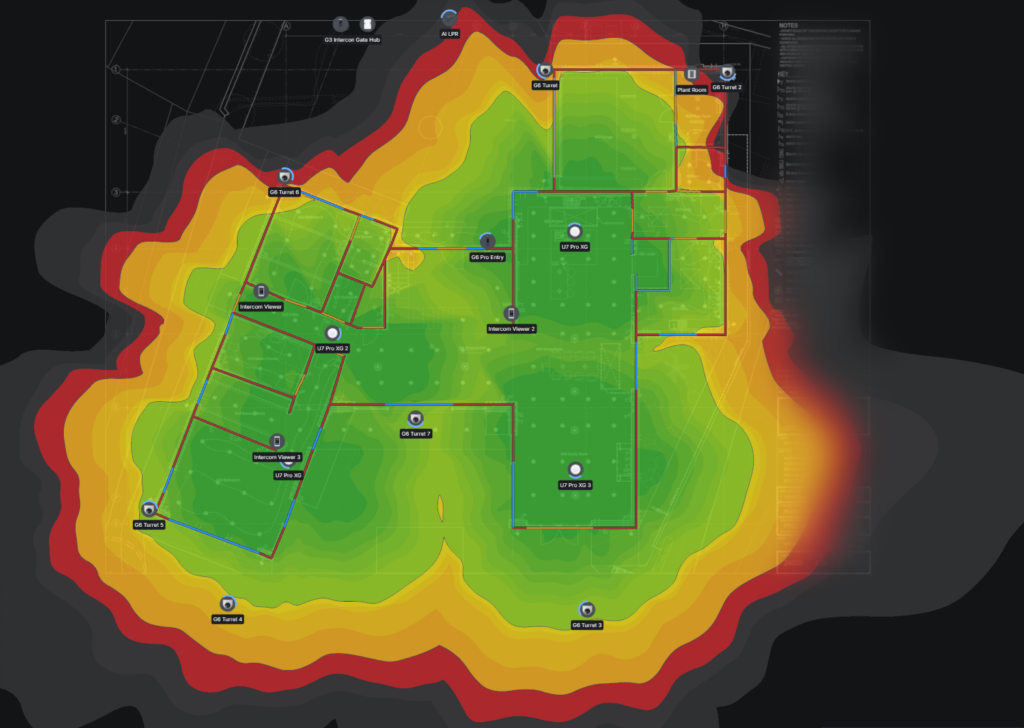
The ground floor plan. Three U7 Pro XG access points give strong coverage across every room, with signal carrying out to the garden and parking areas.
The 3D view shows the same design with walls in place. It’s a quick way to check that a thick internal wall isn’t leaving a room in shadow, and it’s much easier for clients to follow than a flat plan.
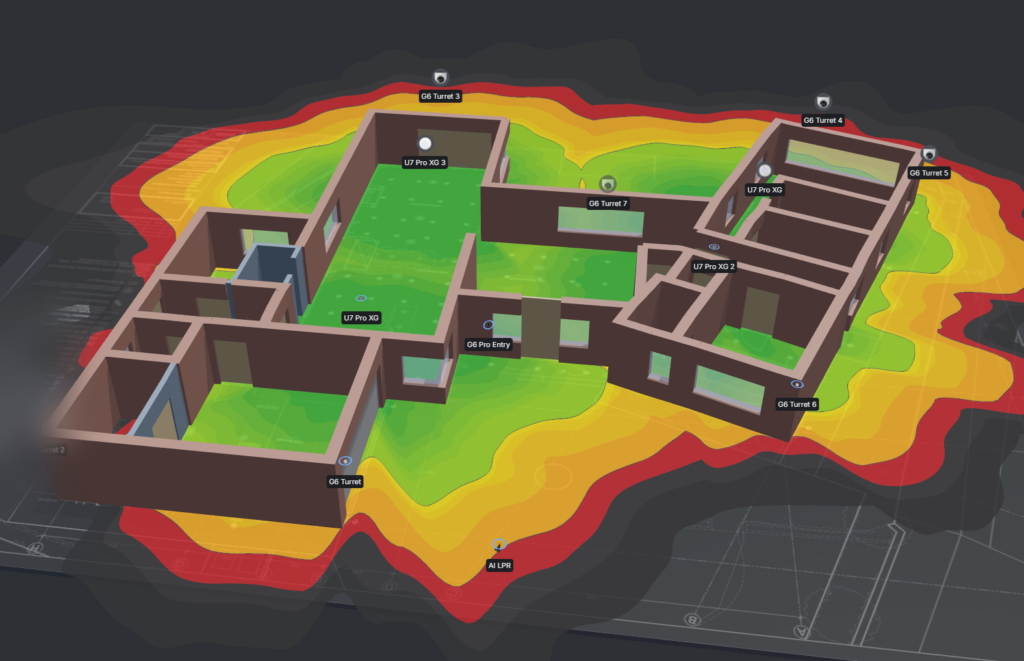
The ground floor in 3D. Each access point sits where it can serve the rooms around it, without fighting through more walls than it needs to.
Upstairs is planned the same way. On this project, a single U7 Pro XG covers the whole first floor.
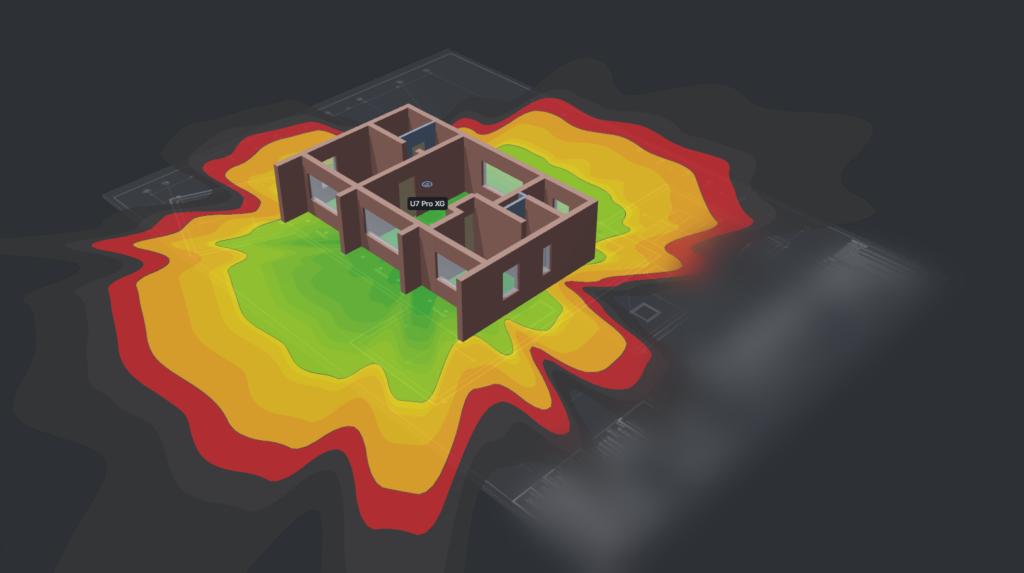
The first floor, covered by one centrally placed U7 Pro XG.
For most sites, we choose between two indoor access points:
- U7 Lite: slim, discreet Wi-Fi 7 for smaller offices, shops and surgeries.
- U7 Pro XG: our fastest indoor Wi-Fi 7, with a third 6GHz band for the newest phones and laptops and room for 300+ devices each.
Where coverage is needed outside, such as a yard, car park or outbuilding, we add a U7 Outdoor or U7 Pro Outdoor.
Step 3: Choose the gateway
The gateway is the front door of your network. It connects you to the internet, keeps threats out and runs the whole UniFi system. We size it on how many people and devices you have, how fast your connection is, and how much resilience you need.
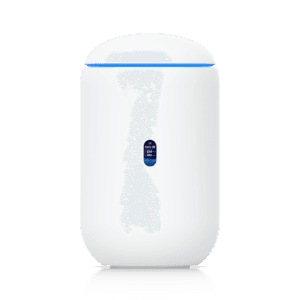
Dream Router 7
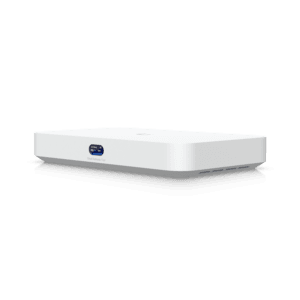
Cloud Gateway Fiber
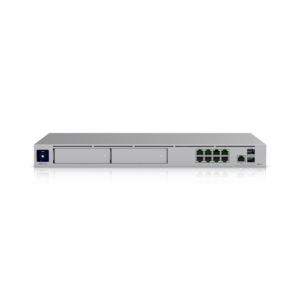
Dream Machine Pro Max
| Gateway | Best for | What it brings |
|---|---|---|
| Dream Router 7 (UDR7) | Small and home offices | Gateway, switch and Wi-Fi 7 in one compact unit |
| Cloud Gateway Fiber (UCG-Fiber) | Most small and medium offices | Ready for full fibre, 500+ users, threat protection at up to 5Gbps, 10Gbps link to the switch |
| Dream Machine Pro Max (UDM Pro Max) | Larger offices and busy sites | Rack-mounted, 2,000+ users, optional spare unit that takes over if the main one fails |
This project needed a rack-mounted gateway with plenty of headroom, so we chose the Dream Machine Pro Max.
Whichever model fits, you get the same security tools: threat detection and blocking, content filtering, separate networks for staff, guests and devices, and secure remote access over VPN. We can also add 5G internet backup, so you stay online automatically if your broadband drops.
Step 4: Choose the switches and plan the cabinet
Switches connect your wired devices and power the access points over the same network cable (PoE), so there’s no need for a socket by each one. We count the cable runs on the plan, add room to grow, and check the switch has enough PoE power for everything plugged into it.
- Small sites: Flex Mini, Lite 8 PoE or Lite 16 PoE. Compact, fanless and quiet enough for any room.
- Growing offices: Pro Max 16 PoE, with every port powering devices and faster 2.5Gbps ports for the access points.
- Larger sites: Pro Max 24 PoE or Pro Max 48 PoE, with up to 720W to share on the 48-port model.
Design Center also lets us lay out the comms cabinet, so we know it all fits before it’s ordered.
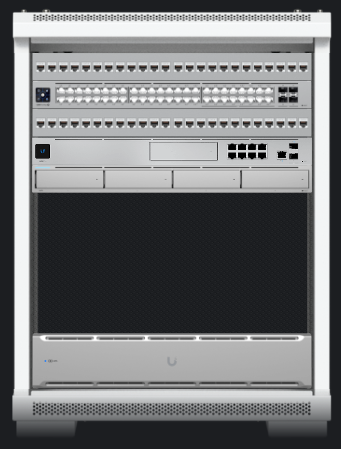
The cabinet for this project: patch panels either side of a Pro Max 48 PoE switch, the Dream Machine Pro Max below, and space left free for future kit.
Step 5: Install, then manage it for you
Once you’re happy with the design, it becomes the plan for the install. Our engineers know where each access point, cable run and piece of kit goes, which keeps the job tidy and on time. After installation, we check the real-world Wi-Fi against the prediction and fine-tune if needed.
Because everything is UniFi, the whole network is managed from one place. We monitor it remotely, apply updates, and can usually fix problems without a site visit. Adding an access point or switch later is straightforward, as it simply joins the same system.
Planning a new network or an upgrade?
Whether it’s a new build, an office move or Wi-Fi that’s never quite worked, we’ll design a network around your building and show you the plan before any work starts. Call us on 01243 767399 or email info@scanstation.co.uk to arrange a site survey.

